
Where:Settings→Setup Helper
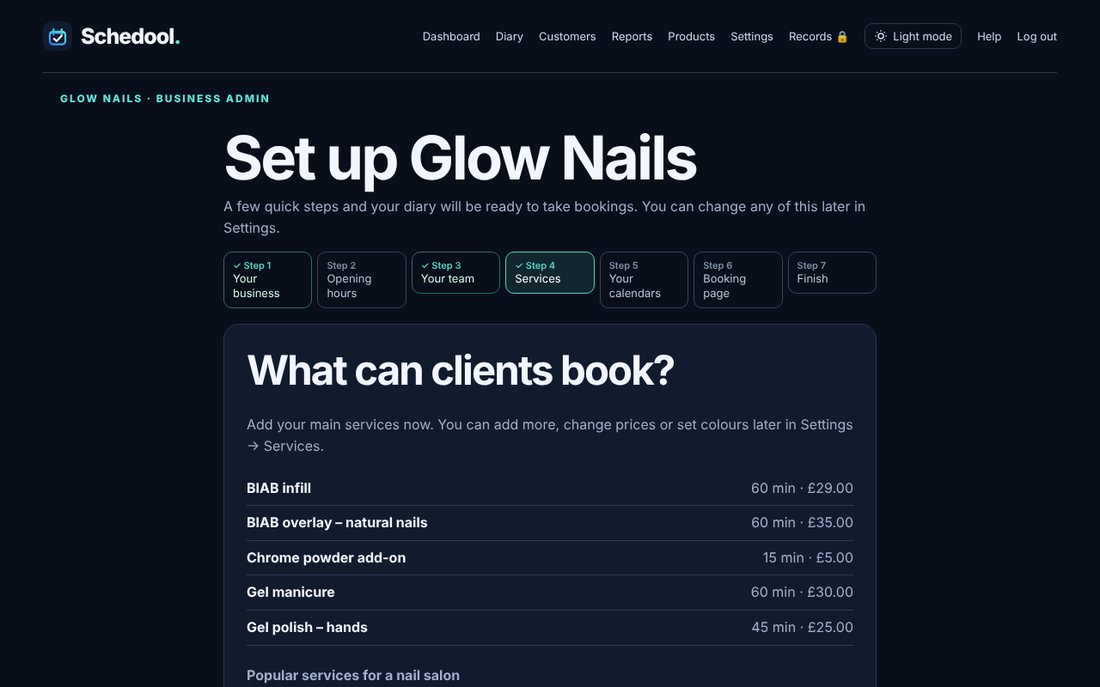
Step by step
- It opens by itself the first time you sign in. You can reopen it any time from Settings → Setup Helper.
- Step 1 – Your business: name, type of business, time zone, and your logo if you have one. The logo appears on your booking page and emails.
- Step 2 – Opening hours: typical hours for your type of business are filled in for you. Change anything that’s different and add a lunch break if you like.
- Step 3 – Your team: add the people who take bookings (or just yourself).
- Step 4 – Services: tick the ready-made services you offer, change any name, length or price, and add your own.
- Step 5 – Reminders: switch on reminder emails and choose when they go (2 hours, the day before or 2 days before). You can see exactly what customers will get. If you have text credits you can add text reminders too.
- Step 6 – Card payments (optional): connect your Square account and choose whether customers pay nothing, a deposit or the full price when they book online.
- Step 7 – Customers & calendars (optional): upload your customer list from another system or a spreadsheet, and bring in Google, Outlook or Apple calendar events.
- Step 8 – Booking page (optional): pick your colour and booking page settings.
- Step 9 – Finish: copy your booking link, ready-made text for Instagram and WhatsApp, a QR code and poster, and a QR code to put the diary on your phone. A checklist shows anything still to do.
💡 Steps 2, 3 and 4 are needed before customers can book.
💡 You can skip and come back – nothing is lost.
💡 Reminder emails send from Schedool’s own mailbox straight away, so you don’t need to set up email first. You can switch to your own mailbox later in Settings → Email Configuration.